Edit travel photos with friends: local adjustments you both feel good about
Fix uneven lighting in a two-person travel photo without changing either face. Use PagePop prompts for individual edits, background cleanup, and a shared final check.
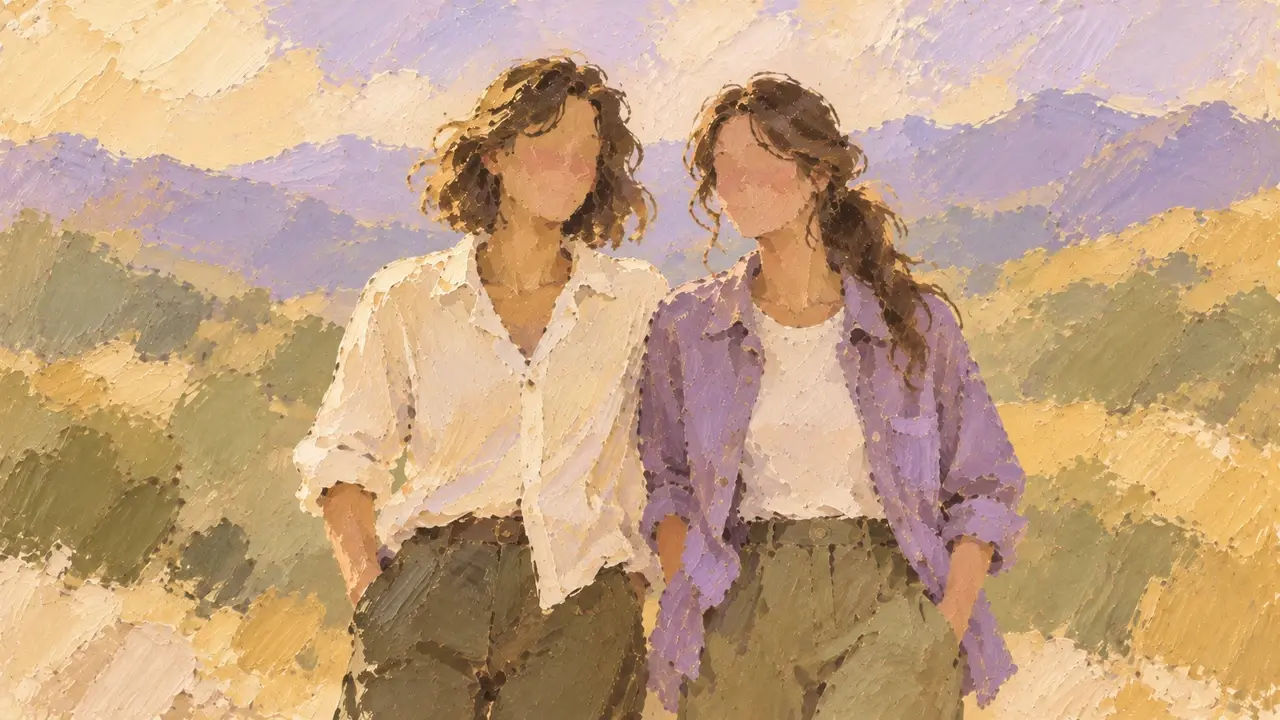
The hardest part of a travel photo with your best friend is often finding one you both want to share. You like your expression, but your friend thinks her face is too dark. She loves the scenery, but you're squeezed against the edge. Applying the same beauty effect or filter to the entire image may not solve both problems.
A more controlled approach is to choose an original you both agree on, then write separate editing requests for each person. Your skin tones, face shapes, and heights can be different. What usually needs coordination is the lighting and visual balance.
Agree on an original before discussing individual edits
Choose a shot from the sequence where both of you have your eyes open, natural expressions, and unobstructed faces. You can tidy the background later. Don't pick the frame where your friend is blinking just because you look good in it.
Check faces first, then hands and body outlines, and finally whether important scenery has been cropped out. If one photo has better expressions and another has better composition, agree on what matters most. Switching to a different original is often easier than asking AI to change expressions, poses, and composition all at once.
Turn your requests into a short checklist, for example:
| Subject | What to change | What must stay |
|---|---|---|
| Person on the left of the image, wearing a white top | Slightly brighten facial shadows | Original skin tone, smile, face shape, and clothing |
| Person on the right, wearing a blue jacket | No changes to the person | Hairstyle, facial features, body proportions, and pose |
| Background | Remove small distracting items at the bottom | Landmarks, ground texture, and the original light direction |
Describe left and right from the image's perspective, then add clothing color or position. Avoid simply saying “fix her photo,” especially in a chat where you've already discussed several images.
Edit one area of one person in the first round
Open the PagePop AI Image Editor and upload the original you both agreed to use. Click the area you want to change in the image preview and add specific instructions. You don't need to include both people in the same editing request.
This example addresses a photo where one person is backlit and the other is properly exposed. Adapt it to your image:
Please edit this travel photo of two people.
Moderately brighten only the facial shadows on the person in the white top on the left side of the image, so her expression is easier to see.
Preserve her original skin tone, facial features, face shape, hairstyle, smile, and clothing details.
Leave the person in the blue jacket on the right unchanged, including her brightness and skin tone.
Keep both people's relative heights, positions, hand gestures, and the background lighting unchanged.
Do not lighten both people's skin uniformly, reshape faces, or add jewelry.
When the result arrives, first inspect the selected area, then the person you didn't want to change. The local edit might look good while the person beside her has become brighter or acquired a different smile. That still needs correcting.
If the first round has changed identifying features, attach the original again and narrow the request to a more specific area. Don't use extra filters to conceal changes to someone's face shape.
Skin tones can differ; the lighting should make sense
Being in the same photo doesn't mean everyone's skin should become the same color. One person may have a warmer tone and the other a cooler one. One may be under a tree while the other stands closer to the light. Those differences may be true to the original.
Watch for a face that looks separately lit by a fill light, or bright outlines suggesting light from opposite directions. Instead of broadly asking to “match skin tones,” explain which difference you want to adjust:
Starting from the current photo, make the lighting on the two people feel more coherent.
Preserve their naturally different skin tones. Do not lighten both people's skin uniformly.
Reduce only the overly cool blue shadows on the left person's face, without changing the right person's skin color.
Keep the original light direction, background colors, and each person's individual facial features.
Do not smooth away the natural texture of skin or clothing.
If the original has strong sunset colors or colored ambient light, let some of that color remain on both people. The aim is for them to look like they're in the same place, not to give them passport-photo lighting.
Edit the background last, without erasing your travel companions
If the people need adjustments, settle those first and handle the background separately. When removing clutter, identify the exact object, position, and area. “Remove the plastic bag on the ground in the lower-right corner, but keep the people lining up behind us” is more precise than “clean up the background.”
At a crowded attraction, consider cropping or reducing distractions before clearing the whole scene. Zoom in on the gap between the two people, overlapping arms, and loose hair. Background cleanup must not cut off fingers, clothing edges, or part of your friend's outline. For more detailed instructions, see the guide to editing photo backgrounds and objects.
Before sharing, let each person approve their own appearance
View the original and the agreed version at the same size. Each of you should check your own eye shape, mouth corners, chin, and hairline. Then check your relative heights, hands, and clothing together. Instead of asking only “does this look good?”, ask directly: “Are you happy that this still looks like you?”
You can have different expressions and poses in the same photo. If one person has turned to speak and the other is laughing, keeping that interaction can be more memorable than making both face the camera and smile. Editing the shadow that hides an expression may be enough; you don't need to recreate the entire moment.
Keep both the original and the version you both approved. Reuse the person-by-person checklist for the next photo. It's easier to get consistent results than asking the editor to guess what “naturally flattering” means every time.